Creating MAPS Groups
All individuals who will be accessing any of the MAPS applications must be added as a MAPS user, an LDAP user, or a member of an added LDAP group. Groups can be used to organize users into units to assist in setting up security within the applications. They are also a way of adding a subset of LDAP users without having to add them individually.
This section discusses the creation of a MAPS group.
Creation of LDAP groups is discussed in
To create a MAPS Group, click on Groups in the Navigation pane.
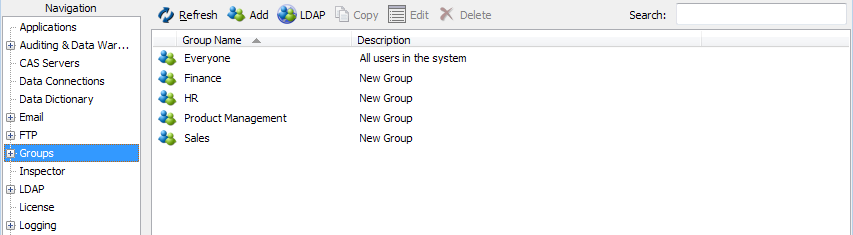
When MAPS is installed, a group named “Everyone” is created. Any user added to MAPS will automatically become a member of group “Everyone”. Since all users are added to this group, use this group with caution.
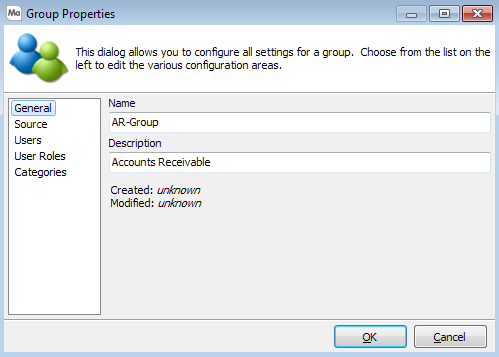
To create a new MAPS group, click the Add button at the top of the screen. You can also create a group by right- clicking and selecting Add. This will launch the dialog box below that allows groups to be added. Note that the dialog box contains General, Source, and Users selections.
General
The first step is to give your group a Name.
The Alias field allows you to map external SAML group identifiers such as Globally Unique Identifiers (GUIDs) to user-friendly group names defined on the server. This ensures that users are assigned to the correct server groups during authentication, even when the SAML provider supplies non-readable group values.
Then, provide a short description for this group.
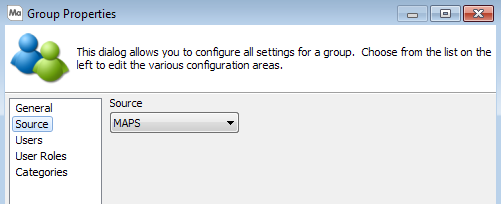
The next step is to click Source which launches the dialog box below.
Source
By default, the Source will be MAPS, meaning any user placed in that group will need to be created within MAPS as a user.
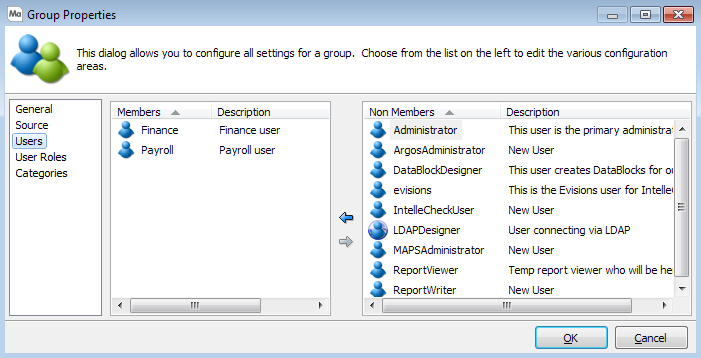
Users
This dialog box is used to add users to the group. In the right hand pane there is a list of all defined MAPS users that are Non Members of this group. Select the user in the right pane and double-click to add as a member of the group. If you are adding more than one user at a time, select users by using SHIFT or CTRL and add using the arrows.
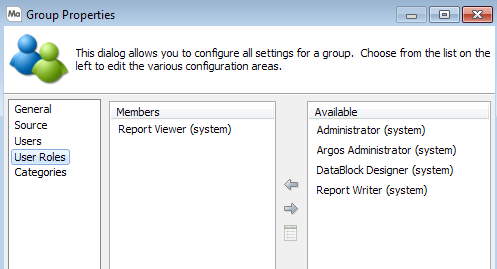
User Roles
Selecting User Roles allows you to associate the newly added Group to User Roles from the list of available User Roles shown in the figure below. All members of the Group will be associated with the selected User Role(s). Click the arrow key to associate or disassociate the Group to/from a User Role. Clicking the icon immediately beneath the arrows displays the operations the User Role can perform.
Available User Roles can be moved between panes via one of three methods:
- Select an item then click the left or right arrow.
- Select an item then double-click.
- Select an item then drag and drop into the other Operations pane.
It is allowable for a Group to be a member of multiple User Roles. In this case, the set of operations available to the Group will consist of the combined set of Added Operations from each User Role.
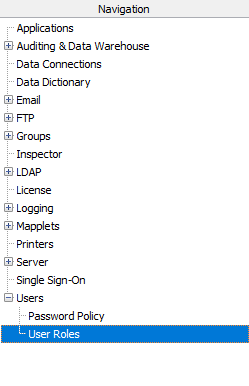
User Roles are created and managed by the User Roles option within the Navigation pane (shown below) and described in the User Roles topic.
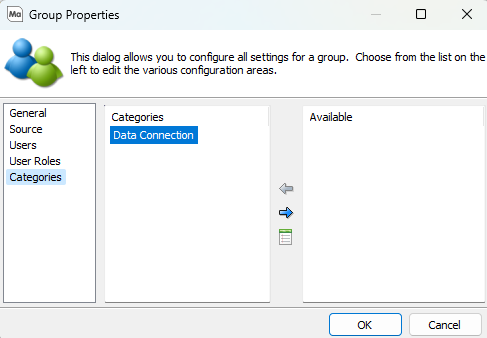
Categories
All members of a Group will be associated with the selected Categories. Available Categories can be moved between panes via one of three methods:
- Select an item then click the left or right arrow.
- Select an item then double-click.
- Select an item then drag and drop into the other Operations pane.
It is allowable for a Group to be a member of multiple Categories.